Customizing the Default WordPress Theme
 To get the new Nine More Minutes site going, I’d considered various options, trying to find the simplest one that would give me a way of displaying a few pages about the company and the work I do. I’d looked at doing a simple static site (in strict XHTML, of course) or even using Python + Django to build a database-driven web site to display, well, plain old pages. Â
In spite of my general disdain towards PHP, I realized that WordPress was exactly what I was looking for, and it would save me from having to write much code. Of course, it would also give me an excuse to write some posts and keep the site updated on a regular basis. But first, I needed to make a theme using my existing 9MM logo and colors.
I started by reading various articles on the topic, most of them describing the files required in the theme directory and how to build a theme from scratch. This one is a really good guide, if you’re into that sort of thing. Taking the even lazier simpler route, I just copied the default theme folder and renamed it to 9mm, and started hacking away there…
The Code
Of course just copying the theme to a new directory isn’t enough. Not that I expected it to be, but worth a shot. For the files in the default (Kubrick) theme, I’ve listed the changes that were required to make them into the 9mm theme.
- functions.php – PHP wasn’t happy to have functions in both the default and 9mm themes with the same names. I renamed all of the kubrick* functions to ninemore* instead. I didn’t notice this same problem with other themes I’ve customized since, so it may have been related to my version of PHP or WordPress at the time.
- header.php – Since my header graphic would contain the blog title and caption, I didn’t need to display this text dynamically. I instead made the entire header div into a link to the blog homepage. I also modified the #page style to remove the kubrick prefix from the image file names.
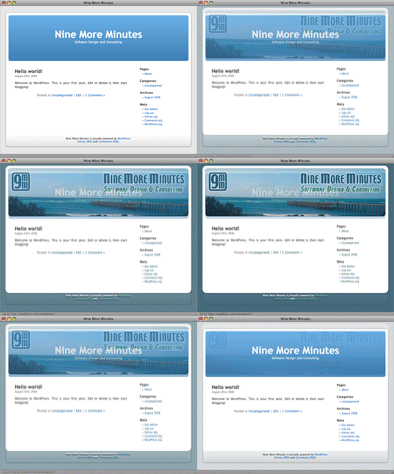
- screenshot.png – I recreated this file from a screenshot of my new theme.
- style.css – I first modified the content block at the beginning of the file to reflect my new theme name and additional information. Â Then I changed the colors and images for my new theme. Â I also removed the extra margin around the body tag and #page div, and updated the #headerimg div height to match my own header image file dimensions.
- images/audio.jpg – I removed this file from my theme.
- images/header-img.php – Since I had no need to make a dynamically-configurable header background image, I removed this file from my theme.
- images/kubrickbg-ltr.jpg – This file would be replaced with bg-ltr.png.
- images/kubrickbg-rtl.jpg - This file would be replaced with bg-rtl.png.
- images/kubrickbgcolor.jpg - This file would be replaced with bgcolor.png.
- images/kubrickbgwide.jpg - This file would be replaced with bgwide.png.
- images/kubrickfooter.jpg - This file would be replaced with footer.png.
- images/kubrickheader.jpg - This file would be replaced with header.png.
The following files required no changes:
- 404.php
- archive.php
- archives.php
- comments-popup.php
- comments.php
- footer.php
- image.php
- index.php
- links.php
- page.php
- rtl.css
- search.php
- searchform.php
- sidebar.php
- single.php
The Design
Now it was time to fire up Photoshop and mock up the layout of the site, basically starting from the business card design I’d done back in April. I really liked the logo, font, colors and background image on that one, so why change it?
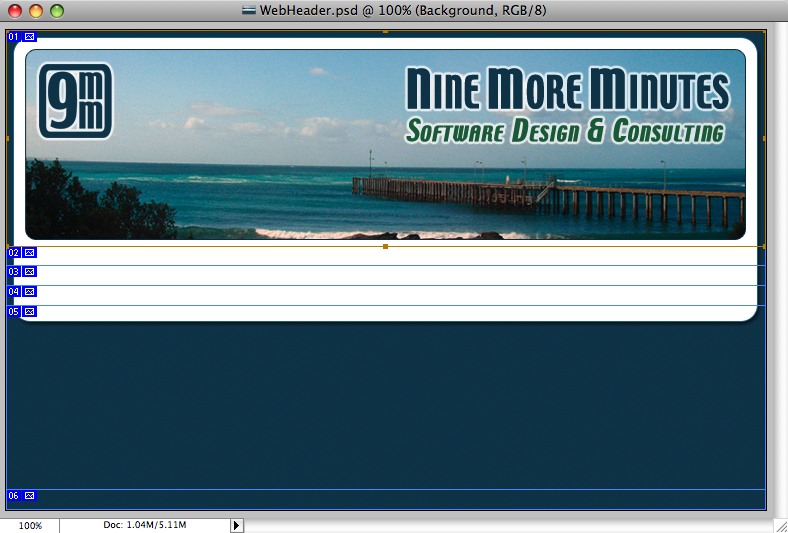
I created the mockup image below to match the dimensions of the default theme, but instead using my own logo, font, colors and background. It’s all saved with layers, using various blending options for the borders, glow and shadows, making it pretty simple to tweak if needed.
As you can also see, I sliced the mockup image into six slices, and named them to match the images files expected by the theme. Â By doing it this way, I could simply do a “Save for Web” (using PNG format) into my theme folder, and have Photoshop save my six image files with the right names. Â From top to bottom, the six layers are named as follows:
- header
- bgwide
- bg-ltr
- bg-rtl
- footer
- bgcolor
The Conclusion
And that’s all it took to make this custom WordPress theme.  Since the original Kubrick theme is licensed under the GPL, I also have to release my theme under the same license.  Since I’m not actually redistributing it or selling it, and you’re only viewing the output of it in your browser, I don’t have to make it available.  But I will anyways (minus my original Photoshop file), since it would already be possible to grab the images and style sheet from this server.  Enjoy!

